Imogen's Imagination Fascinator Workshop
On Sunday, I went to a fascinator workshop held by the lovely Sophie from Imogen's Imagination. The workshop was a tester (or guinea pig workshop) for a few others that she has in the pipeline for the future. Four of us went over to Imogen Towers to take part in a very fun and informative workshop.
We were faced with a table full of goodies including straw fascinator bases, feathers, veiling, buttons, ribbons, combs, clips and headbands.
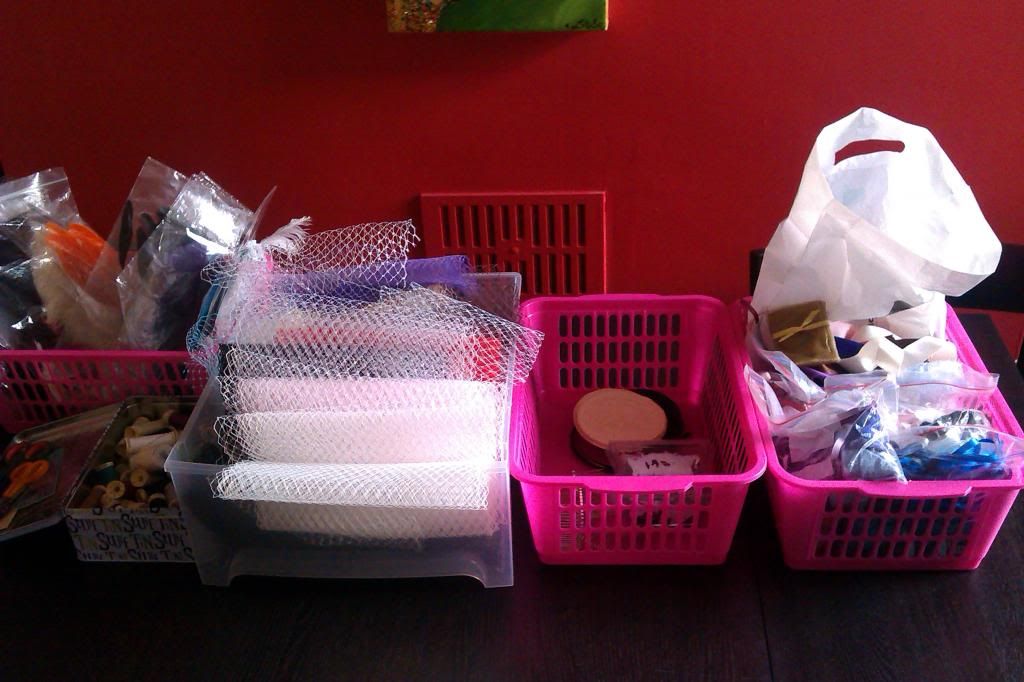

We were faced with a table full of goodies including straw fascinator bases, feathers, veiling, buttons, ribbons, combs, clips and headbands.
Sophie first told us to choose a base and then search through all of the supplies and pull out anything that caught our eyes. My chosen colour scheme turned out to be purples on a natural coloured straw base.
I went with purples because I found a piece of dark purple velvet ribbon that I knew I wanted to use and then the rest of the supplies were chosen to match it.
I also picked out a metal comb as a way of fastening the finished fascinator onto my head, as I prefer combs to clips or headbands. I find them easier to use and more secure than clips and they give more freedom than a headband.
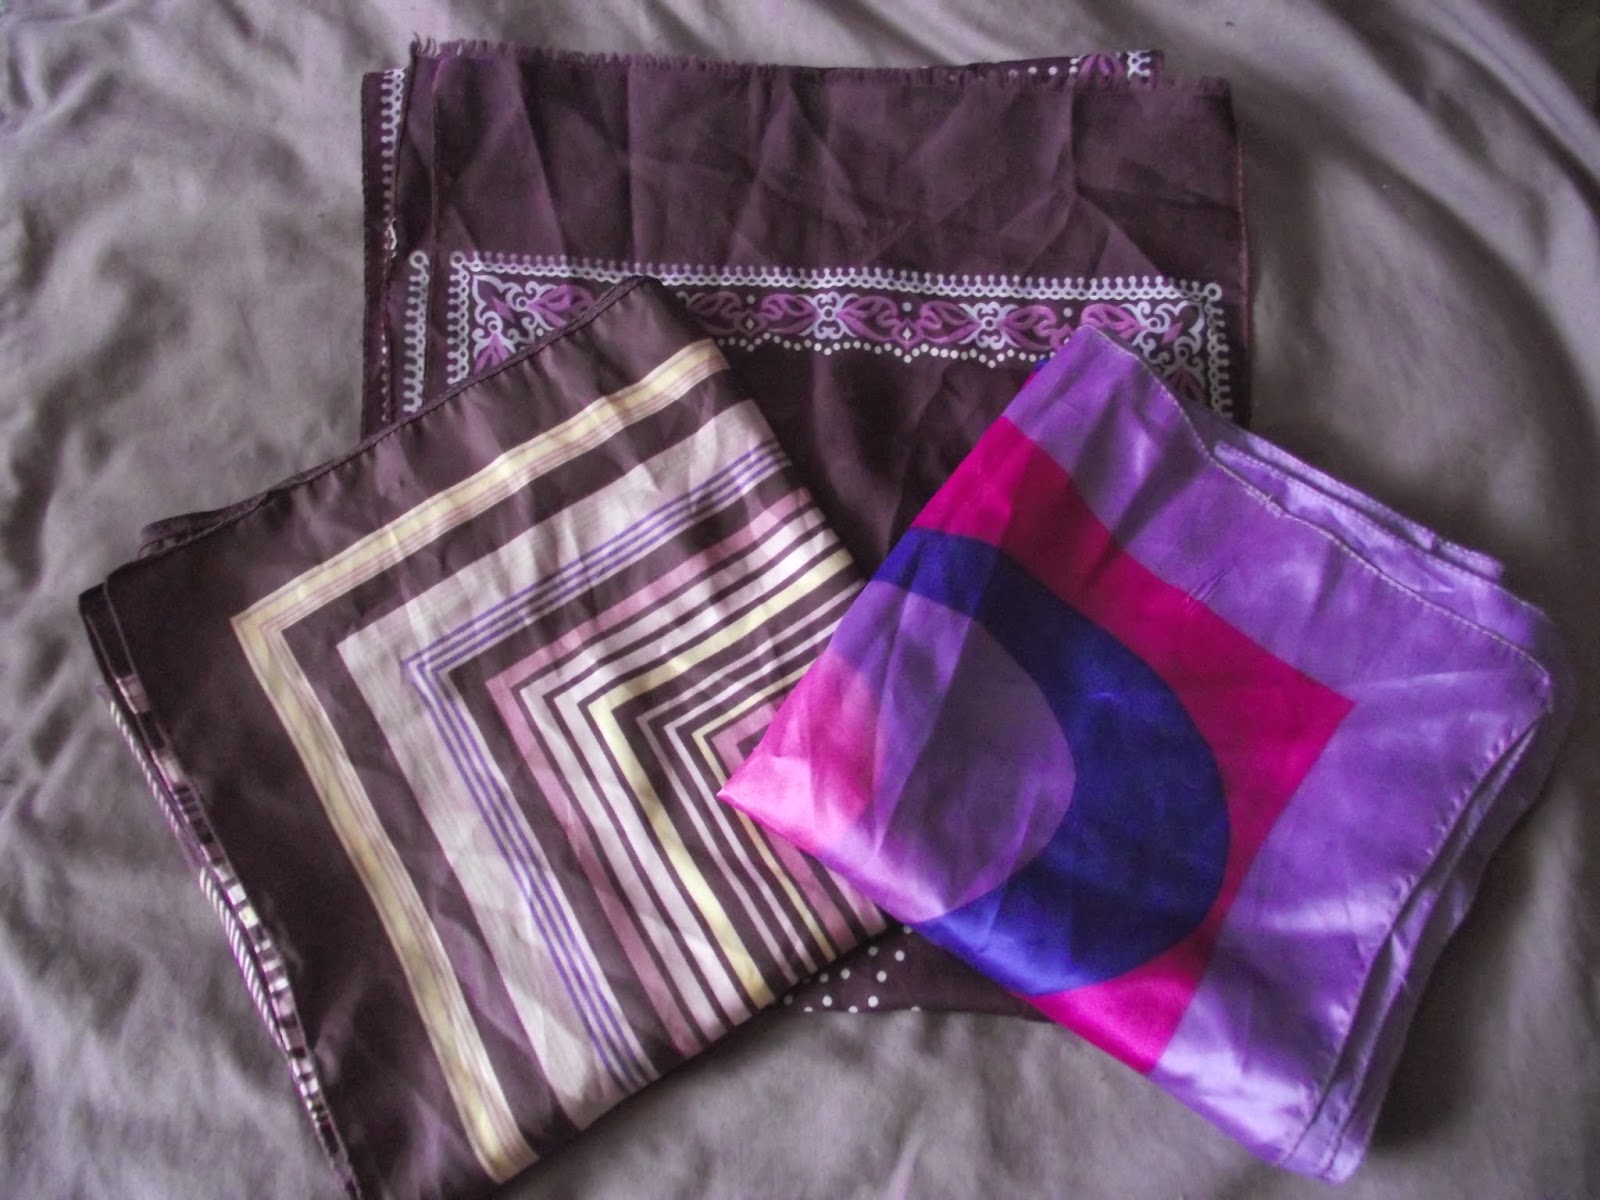
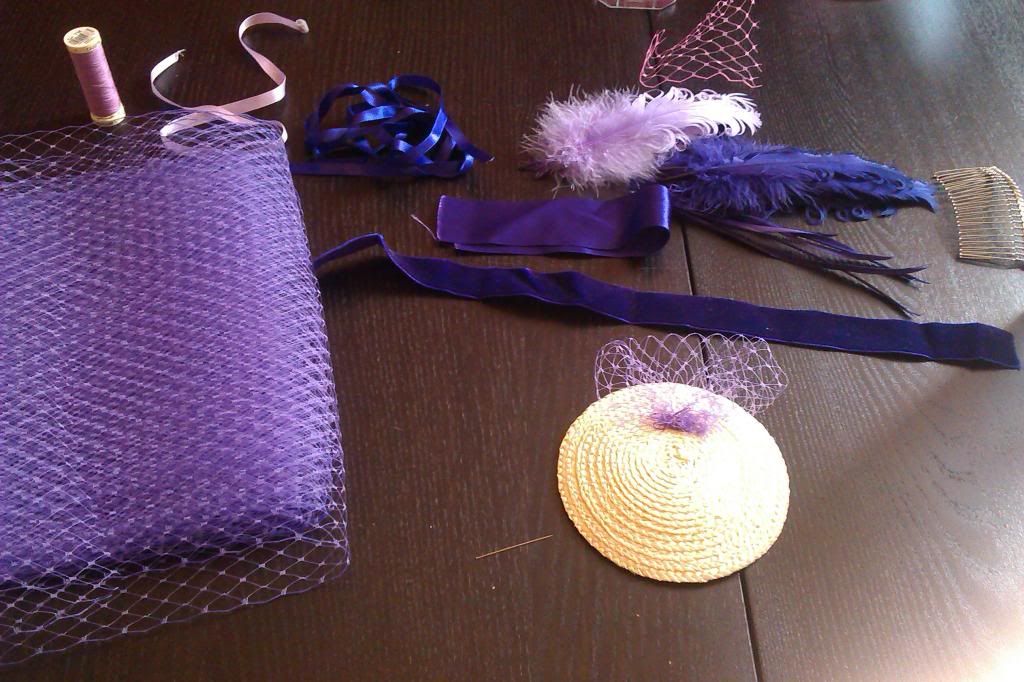 |
| All of my supplies laid out on the table. I forgot to take the picture before I started, so this is after I attached my first piece of veiling. |
Sophie told us to start with the veiling and gave us a few different examples of how we could use it to create different effects. I started with a small puff of veiling at the top of my base (as seen in the above photo) and then played around a little with a few other pieces as I wasn't sure what else I wanted. I settled on a tube of veiling with a few thin feathers in the middle, inspired by sinamay lily shaped fascinators that I have seen before.
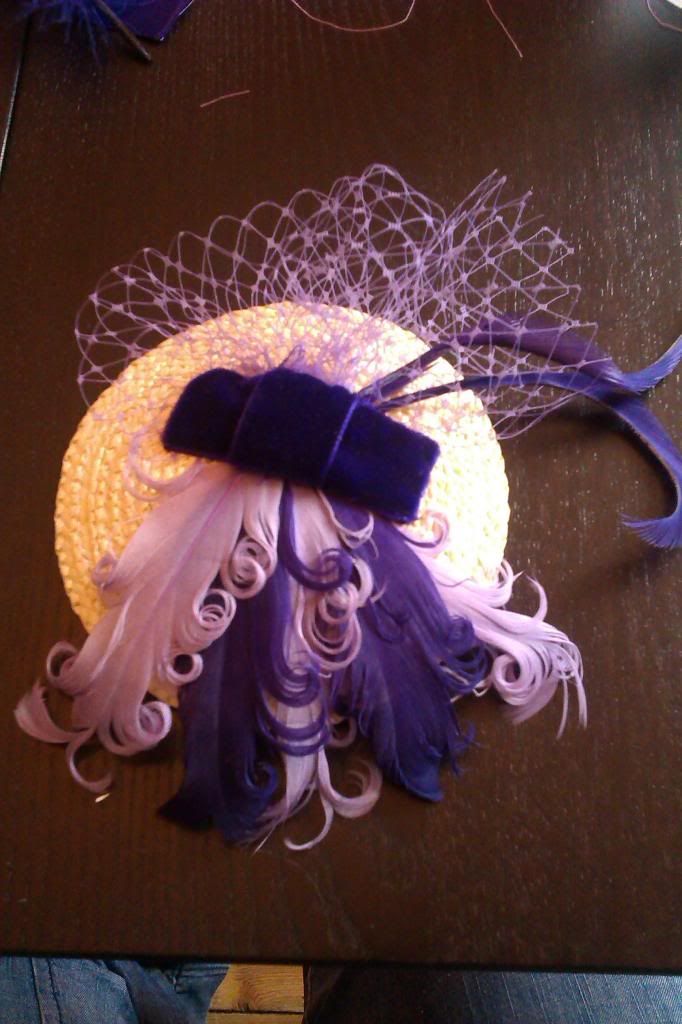
After veiling came feathers and other embellishments. My feathers started with a few thin curled feathers inside the veiling 'lily' and then I played around with some curled goose feathers until I achieved a look I liked. The goose feathers were arranged in a fan shape around one side of the fascinator base.
Once I had secured my feathers, I finally got around to creating a flat bow out of the velvet ribbon. This covered up the space where the ends of the feathers and veiling met and added a more central focus point to my fascinator.
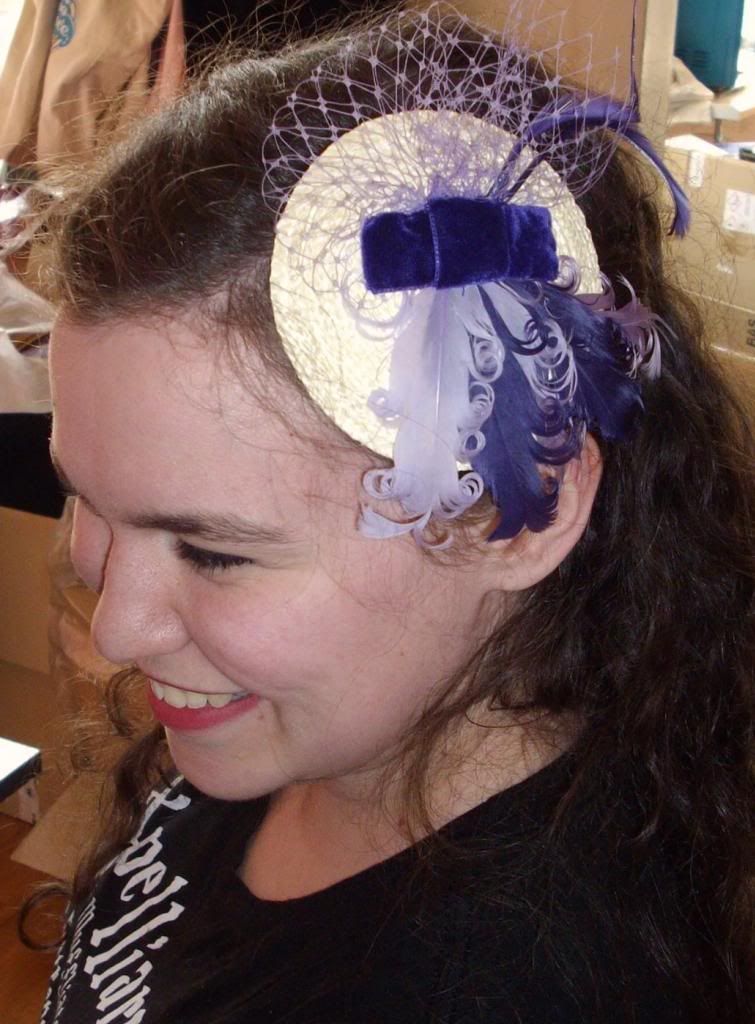
The last thing to do was to sew the comb onto the underside of the base and my fascinator was finished!
I would highly recommend a workshop with Sophie and if you are in or around Sheffield in May, she is holding a Mini Top Hat Decorating Session on the 24th May for The Hat Stand. Get there if you get chance!


Comments
Post a Comment